Showing posts with label Fermentation. Show all posts

Thursday, January 28, 2016

Kim-chi for the Elimination Diet

I made some of this a few weeks ago to prep for the ED when I was reading Wild Fermentation.  Here is my modified version that I will definitely be keeping in stock as a condiment!  This is an incredibly flexible recipe: the onion, garlic, ginger paste (I left out the chilis that are usually a part of the paste) is the basis for all kimchi, and then you can add whatever you have on hand or sounds good!  Here's what I put in mine.

Kim-chi for the Elimination Diet

1 lb bok choy, rinsed well and chopped into thin, short strips
5-6 radishes, coarsely grated
2 carrots, coarsely grated
any other veggies you have around that sounds good

1-2 onions (or onion type things like leeks, shallots, scallions, etc)
3-4 garlic cloves (or more!)
3 T fresh grated ginger (or more!)

2-4 T salt

When preparing the kim-chi, I keep in mind that I'm going to be using it as a condiment, not as a dish by itself.  So I focus on keeping the pieces small enough to eat in bites with other things.  I coarsely grate the carrots and radishes instead of chopping them so they can add their flavor to bites without being large pieces that fill up the bite by themselves.
I cut the leaves of several stalks of the bok choy into about 1 inch strips, and then cut those into about 1/4 inch strips.
I cut the stems in half (or even thirds if they are wide enough) lengthwise and then chop them fairly finely.  


Mix a brine of about 4 cups of water and 2-4 T salt, depending on how salty you like things.  I don't like them terribly salty, so I only used 2 T.  Stir well to completely dissolve the salt and pour over the veggies in the bowl.  Put a plate or a plastic bag filled with water on top of the veggies to weigh them down and hold them below the brine.
 Let it sit for a few hours or overnight, until the veggies are tender and flexible.

Drain the veggies, reserving the brine.  Taste them for saltiness.  You want them to be salty, but not unpleasantly so.  If they are too salty, rinse them off, if not salty enough sprinkle a teaspoon or 2 over them.
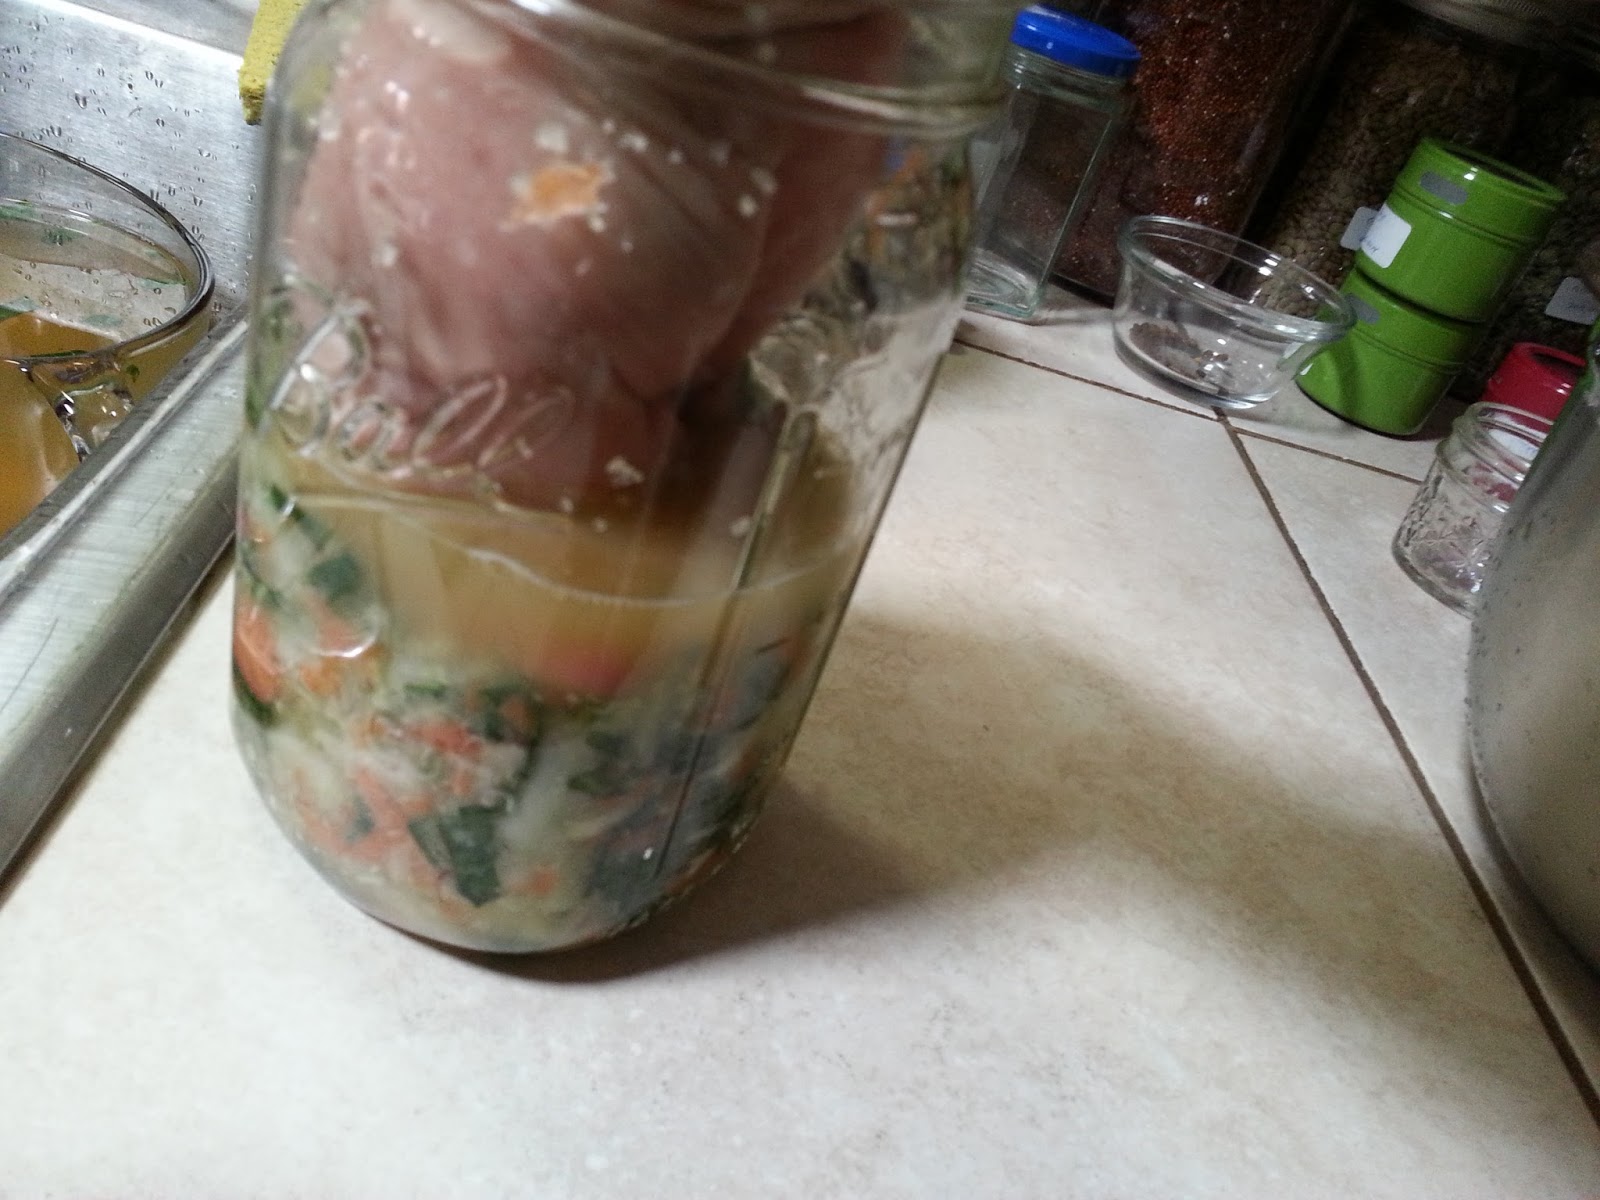
Chop the onion, mince the garlic and grate the ginger, then put them all in a food processor and process them into a paste.  Mix the veggies and the paste together and pack it into a clean quart jar, pressing down until the brine rises.
 
After packing it all in, if the brine is having trouble staying over the veggies, add a little of the reserved brine from soaking the veggies.  You want it all to be completely submerged so it can safely ferment.

Once it is all in, I like to use a 4 oz jam jar in the mouth of my wide mouth jar to weight down the veggies and keep them under the brine.
Then I write the date on a coffee filter turned upside down over the top of the jar and and screw a metal band on top of it.  This allows the kim-chi to breathe and prevents random things from getting inside.  If you have a fermenting lid with an airlock, that works great too.
Put the jar in a bowl (to catch overflow during fermentation) and set it in a room temperature environment, some place out of the way, but where you won't forget about it.  If you aren't using an airlock lid, the smell of the garlic, onion and ginger can get pretty strong, so take that into account.  I get small food safe buckets from my local bakery, and I've delegated one for smelly ferments.  I just put the jar in the bucket, put the lid on loosely and then it doesn't smell up the whole house!  It has the added benefit of catching any overflow from the bubbling ferment too.
Let it ferment about a week, and then taste it to see if you like the tang.  Keep tasting it every few days until you like the flavor, then remove the weight, put a lid on it and place it in the fridge.  It will keep for months, and I'm finding it a very delicious condiment for my tacos!

Yield: 1 quart

Sunday, December 20, 2015

Water Kefir Flavor Ideas

After you get your first batch of kefir water, you get the fun of figuring out what flavors you like!  I'm still experimenting a lot, but here's what we've enjoyed so far:

Mulled cranberry: 1-2 tsp mulling spices, 1/2 cup pure cranberry juice

Blueberry: I filled up the rest of the 1 liter bottle with pure blueberry juice

Plain Sucanat: If you let the sucanat version finish fermenting, it doesn't get as fizzy, because most of the sugar has already been eaten, but it gets a wonderful fruity taste to it that is quite unique.  I'm going to try adding a small amount of water with sucanat dissolved into it to the next batch to see if it gets fizzy.
2015-12-20  I tried adding 1 and 2 T dissolved sucanat to 2 bottles of the finished first ferment kefir, and it isn't getting fizzy for some reason.  I'm not sure why, I'll have to experiment some more.

Dr Pepper:  since this is the culprit that hubby needs, I've been playing with various blends to try to make something similar.  I'll post a finished recipe when it passes the hubby test!  For now, I've used prunes, cloves, cinnamon, vanilla extract, almond extract and some random other spices.  Just throw stuff in and see how it comes out!  I've been loosely working off of this recipe I found: Mockter Pepper.
2015-12-17:  I did another trial with pure black cherry juice, frozen raspberries, cloves, mace, peppercorns, allspice, cardamom, a bit of a star anise, a bit of ginger paste, some vanilla and almond extract.  I think it came out pretty good.  Still not Dr Pepper, but better than the last trial.  It took me a few days to drink it and it didn't age very well.  I've got some wintergreen leaves coming in the mail that I will add to another batch.  Gonna try just spicing some plain sucanat and seeing if that will be good.

Ginger:  I've tried a couple times to make some kind of nice ginger drink, but I think the ginger actually kills the probiotics, so it doesn't get fizzy.  Still working on it.

Just try whatever ideas you have, you are sure to find something that you like!

What I'm Reading: Wild Fermentation by Sandor Katz

Welcome to the first edition of "What I'm Reading"!  I am constantly reading a multitude of different things, but I thought I'd share some that I think are incredibly useful.


http://reciperenovator.com/wp-content/uploads/2013/02/WildFermentation.jpg

I learned about lacto fermentation while reading the Elimination Diet book in May.  Before this I'd never really noticed anything about it.  Perhaps in vague ways.  I knew that alcohol was a product of fermentation, and that yogurt was also.  But I've never been a huge fan of cultured dairy (except cheese and sour cream) and had never considered it might have other uses.  Making my own lacto fermented veggies for the diet was a life changing experience.  I found out that I REALLY liked them.  So crunchy. Tart and fizzy.  I had no idea what I was doing, but I was having fun experimenting.

Since then I've learned a ton about lacto fermentation and how incredibly beneficial it is.  I have since encountered it on many other websites, and marvel that I never knew about it before.  I've also been completely through Sandor's website, WildFermentation.com and have been wanting to read his books about it.  

This book has been an educational experience, it has consolidated information I acquired by randomly surfing the web, and added foundation, theory, and technique I didn't have.  It does have quite a bit new age, hyper liberal, crazy commune rhetoric as part of it, but it doesn't make the book unreadable, and I can eat the meat and spit out the bones.  It is unusual to find a dedicated crafter who is able to put his craft into words that other people can understand and follow, and I am deeply appreciative that Sandor is one of them.  I can't wait to try some of these processes! (Can't really call them recipes, because they are very flexible...more like guidelines)  I am looking forward to reading his other book, The Art of Fermentation and seeing what 10 years has done for his insight into this mostly mysterious realm.

Right now I have a batch of pickles fermenting, and I can't wait to see how they come out!  If they are as amazing as I think they will be, I'll share the recipe!  Alas, I still have to wait most of a week...or longer...  (goes to poke at them as if it will hurry them up, lol)

Thursday, December 17, 2015

Water Kefir Basics

I've been playing with water kefir lately.  I've never really cared too much for most cultured dairy, so when I learned about water kefir, I was really excited!  Hubby only ever drinks Dr Pepper, and I'd really like to find something he likes that is better for him than that.  The water kefir sounds like it might just be the ticket.  I did a lot of reading before ordering my grains, ended up buying them off ebay for a really reasonable price, and they arrived just after Thanksgiving.  I was concerned about not feeding them enough at the start, so I think I actually ended up feeding them too much.  I ended up with kefir that was way too yeasty and therefore the final product was rather alcoholic.  Nothing wrong with that, but not what I was after!  The good thing about that was that my grains really grew fast, and gave me enough to do a lot of experimenting with.  I seem to have come up with a good system of making kefir water without them growing too fast or getting alcoholic.  It looks like this:

Equipment:

-1 half gallon Ball wide mouth mason jar
-1 metal lid band
-Small coffee filters
-Nut milk bag or nylon strainer
-Long handled wooden or plastic spoon
-Non metal bowl to put the grains in while you refresh the sugar water.  There are many theories out there about metal harming fermenting agents.  I don't know what I believe yet and I haven't had time to experiment and gather evidence, so I just follow the mainstream because it's not too much trouble.
-Bottles that can hold pressure for the carbonation phase. I purchased my 1 liter plastic bottles at Kroger. They held sparkling water, which I drank and then saved the bottle.  Many people buy flip top bottles because they are glass, but I prefer the plastic ones because they won't explode glass shards all over my kitchen if they over pressurize and I can avoid fizz explosions by releasing the pressure gradually instead of all at once.

Ingredients and process:
7 cups filtered water at room temperature
1/2 cup water kefir grains
1/4 cup sucanat or demerara sugar, alternating. The sucanat has more minerals, which feeds the kefir, but if used exclusively it seems to develop more yeast.  I'm still experimenting with this.  Most of the recipes out there call for 1/2 cup of sugar per half gallon, but that was making the kefir too sweet and too yeasty, which has the natural result of becoming alcoholic.  If you are using plain white sugar, you can add 1 teaspoon of molasses to supplement minerals, or get trace mineral drops.


Heat 1 cup of the filtered water and the sugar and stir until the sugar is dissolved.  Sugar crystals can damage the kefir grains, so make sure it is all dissolved.  Pour into the jar and add the rest of the water. 
Add the water kefir crystals. 
Take out a coffee filter and write the date and time along the edge (because I can't keep track of things otherwise, lol), then place over the mouth of the jar and screw the metal band on over it.

Sit it out on the counter and stir it every 12 hours or so.  It will start to sound fizzy after you stir it and smell a bit sour and yeasty, but not too much.  Taste it after stirring it each time to see how it's coming.  A cooler kitchen will take longer, a warmer kitchen will be faster.  Right now it's winter and we keep the house around 65-70, so it's taking about 2 days for it to get where I like it.  In the summer I imagine it will only take 1 to 1 and a half days.  If your kitchen is colder than 68, you might try putting the jar in the oven with the light on and the door cracked to help it be warm enough to be active.  I'm finding that even though the house gets colder at night, it's warm enough during the day to keep it active.


After it is pleasantly sour, I line my 4 cup measure with a nut milk bag and pour 3 1/2 cups into the measure, then place the bag into a ceramic bowl while I pour the kefir water into a 1 liter bottle. 
 Replace the bag into the measure and pour the rest of the water kefir into the measure, swirling at the end to get all the kefir grains out.  If there are some left, you can pour some of the kefir back in the jar, keeping the grains separate in the bag, and swirl again to remove the last of them.  Pick up the bag with the grains inside and squeeze it very gently to help the kefir flow out. 
 Set it aside in the ceramic bowl.  Pour the kefir into the other 1 liter bottle and set aside.  Gently flip the grains out of the bag, and gently scrape the sides of it with a spoon or spatula to clean what sticks to the bag off. 
 Rinse the bag so the leftover grains won't dry and get stuck on it.  Then you can scoop the grains into a plastic or glass measure cup to measure out 1/2 cup.  Restart the process for making kefir water. 

The extra grains can be stored in a more concentrated sugar water solution in the fridge for a week or two.  I put them in a quart jar with 1/4 cup sugar and about 2 cups of water.  Date when you put them in so you don't forget and let them starve.  When you have enough, pass them to a friend!